

In the era of TikTok, Reels, and Shorts, the "landscape vs. portrait" battle is over—and vertical video won. Most creators start their journey by staring at a 16:9 cinematic shot and wondering how to squeeze it into a 9:16 frame without losing the subject’s face.
While Adobe Premiere Pro is a powerhouse, manually cropping every clip can feel like digital chores. Here’s how to master the manual tools, use the built-in AI, and then move beyond them entirely.
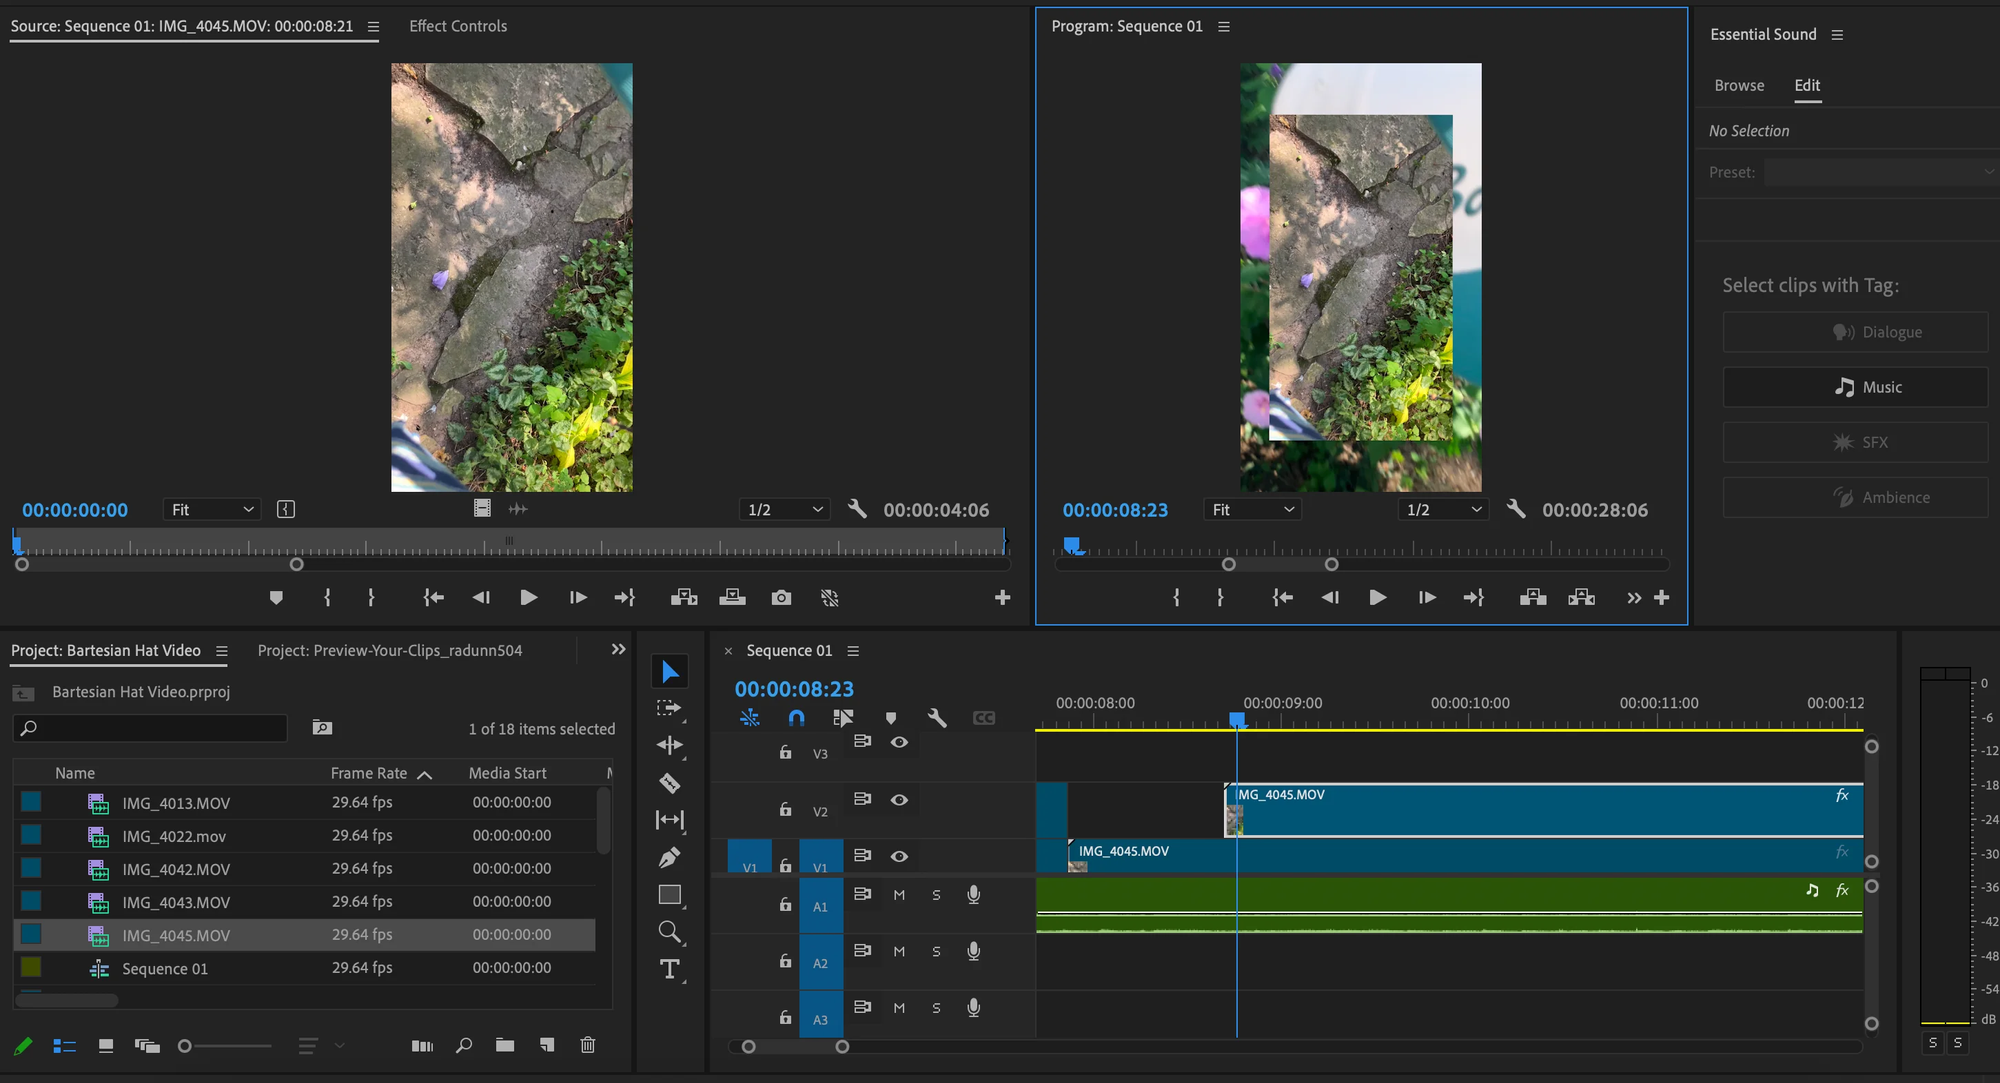
The Manual Way: The Crop Effect
If you just need to trim the edges or create a specific "letterbox" look, the crop effect is your first stop.
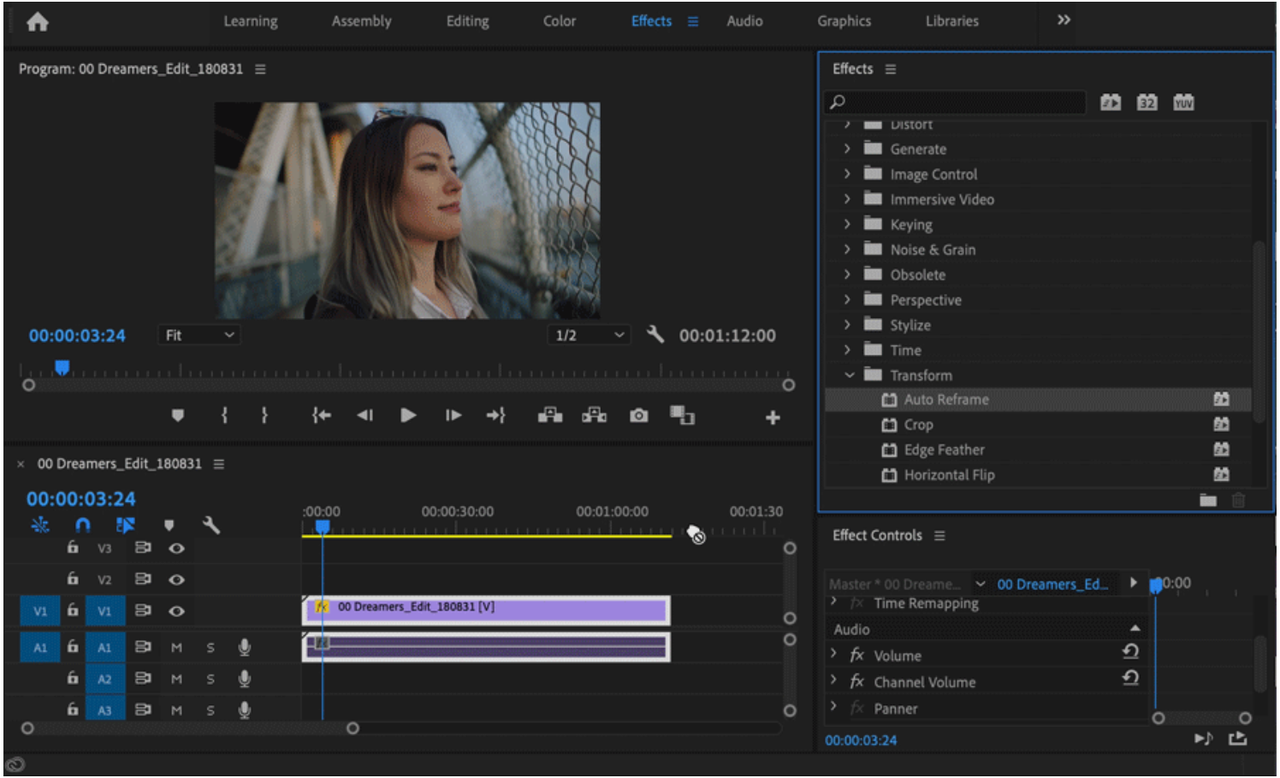
- Locate the Effect: Go to the Effects panel and search for "Crop."
- Apply: Drag it onto your clip in the timeline.
- Adjust: In the Effect Controls panel, use the sliders for Left, Top, Right, and Bottom to shave off pixels.
- Feathering: If you want soft edges, tweak the Edge Feather setting.
The Downside: This doesn't change your sequence size; it just hides parts of the image. To turn a horizontal video into a vertical one, you have to change your sequence settings first (to 1080x1920) and then manually scale and position every single clip.
The Smarter Way: Auto Reframe
Adobe knows that manual reframing is a headache, so they introduced auto-reframe. This tool uses AI to identify the action in your shot and keep it centered in a vertical frame.
- How to do it: Right-click your sequence in the Project panel and select Auto Reframe Sequence.
- Choose Aspect Ratio: Select "Vertical 9:16."
- Motion Tracking: Choose a motion preset (Slower Motion for vlogs, Faster Motion for sports).
While it’s a massive time-saver, it’s not perfect. It often misses the "vibe" of a cut or fails to track multiple speakers effectively.
The FireCut Twist: Never Touch the Crop Tool Again
If you’re moving from "basic editor" to "content machine," even Auto Reframe is too slow. This is where FireCut changes the game. FireCut is an AI-powered plugin, designed by the famous YouTuber Ali Abdaal and his friend Suhail Idrees. It automates the lengthy parts of your video editing process. The plugin was initially launched for Premiere Pro, but now it's also available for DaVinci Resolve.
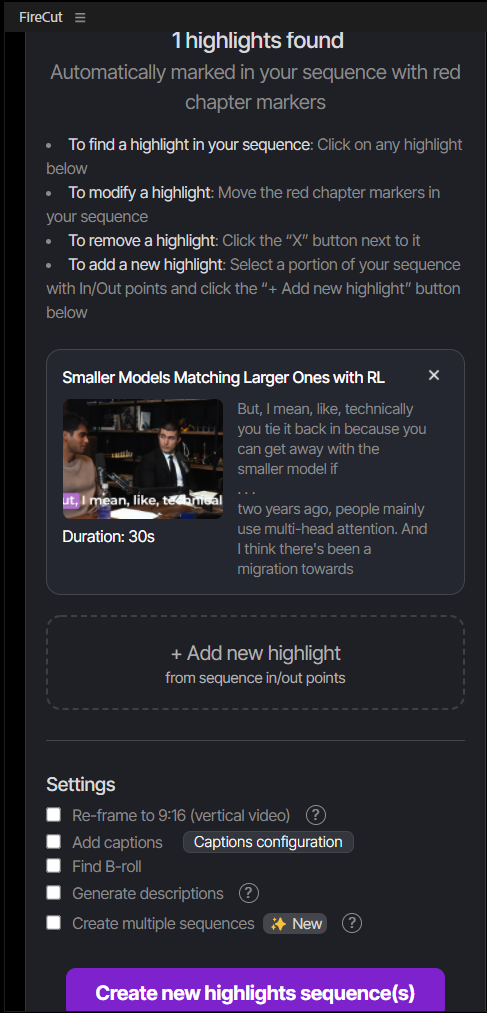
Instead of you manually hunting for the best moments and then fighting with the crop settings, FireCut’s 'Highlights' feature handles the entire pipeline:
- Instant Shorts: It scans your long-form footage (podcasts, tutorials, or vlogs) to find the most engaging "viral-worthy" moments.
- Automatic Framing: It doesn't just crop; it uses AI to ensure the person speaking is perfectly framed in a 9:16 layout, even if they move around.
- Built-in Captions: While it crops, it also generates accurate, stylish captions—saving you another hour of work.
- B-rolls: Adds B-rolls relevant to your video.
By the time you would have finished manually keyframing one clip in Premiere, FireCut has already edited, cropped, and captioned ten "shorts" for you.
Don’t believe it? Try it yourself with a free 7-day trial.
Conclusion
Knowing how to use the crop effect is a fundamental skill every editor needs in their back pocket. However, in a world where you need to post daily to stay relevant, manual cropping is a bottleneck.
Tools like Auto Reframe are great for single clips, but if you want to turn hours of footage into a week's worth of social content in minutes, it’s time to let AI tools like FireCut do the heavy lifting. Stop Cropping; Start Creating!