

Are you a podcast editor looking for the best ways to edit your podcast efficiently? Good news is that you don’t need to spend a lot of money to finish your podcasts so they look professionally polished. You've probably heard of DaVinci Resolve for video, but have you ever used it for editing?
DaVinci Resolve is a very powerful video editing software that can help you with most of your editing tasks. So even for podcasts, it is a great choice. In this guide, we’ll walk through the entire podcast workflow, from importing raw files to achieving a polished podcast, all within DaVinci Resolve.
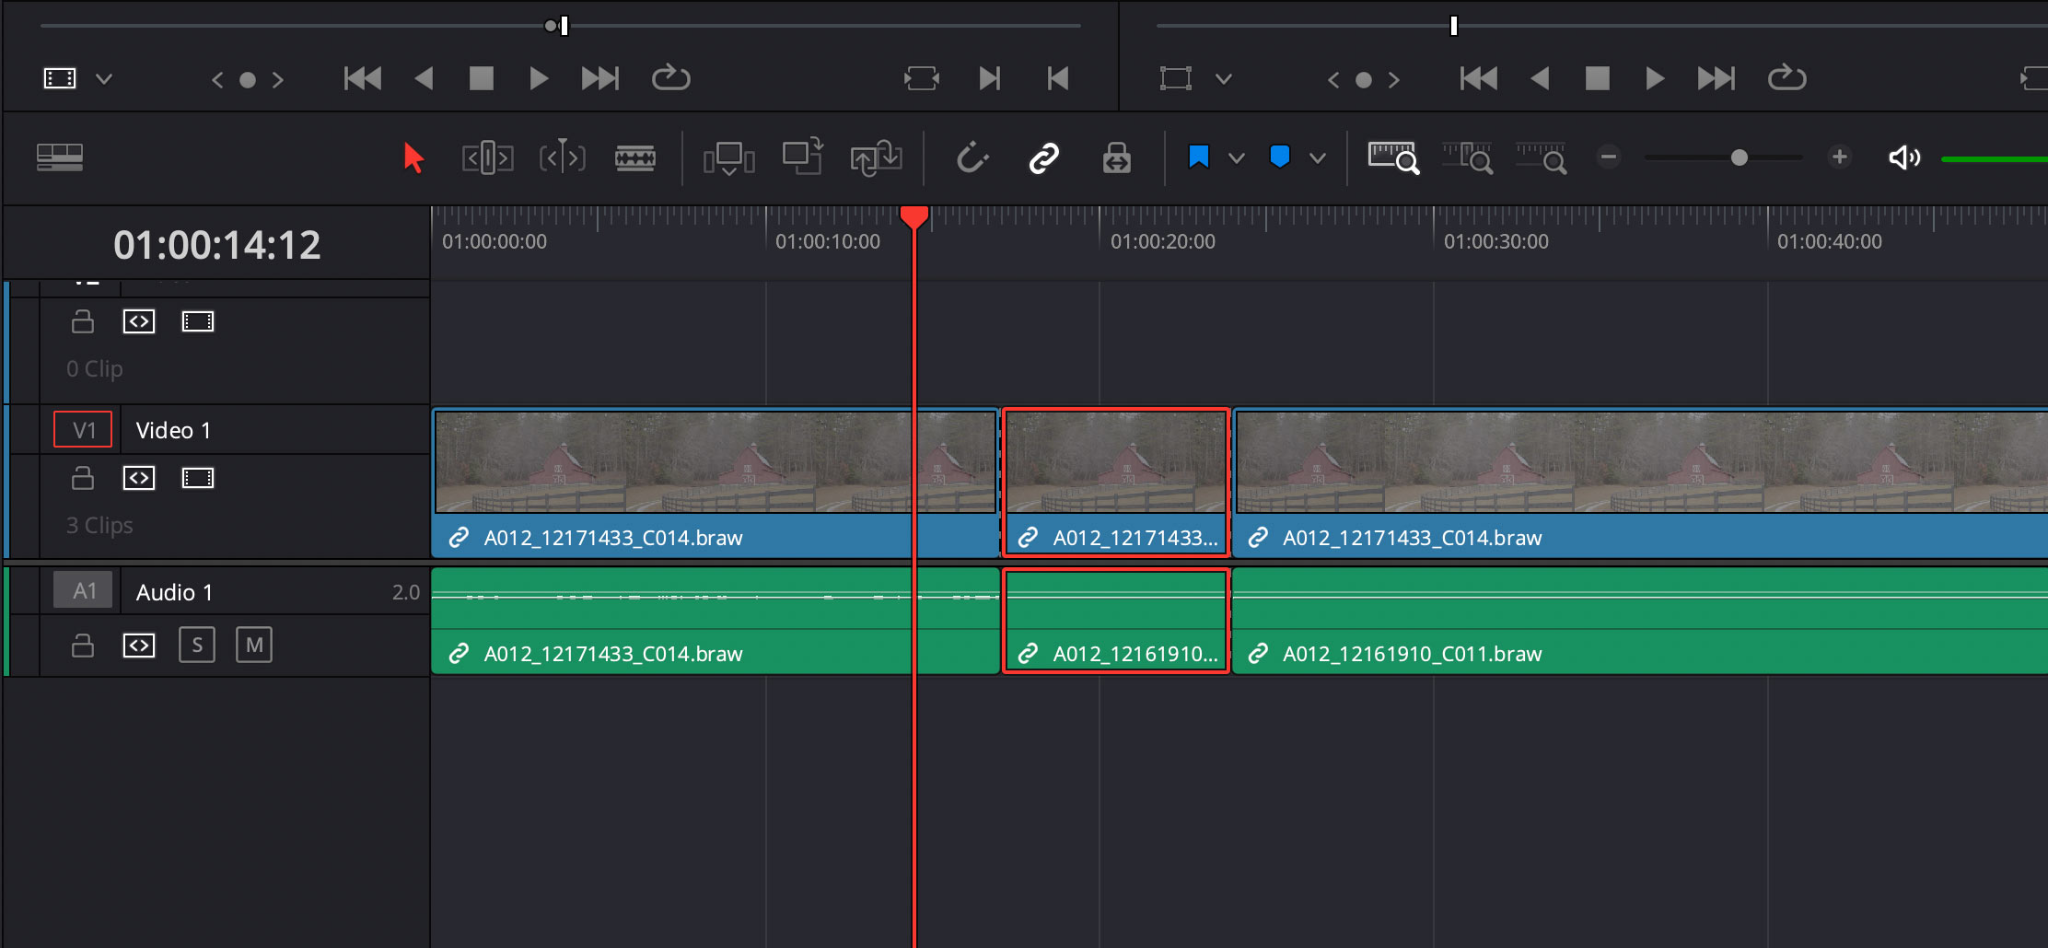
The Edit Page (or the streamlined Cut Page) is where you handle the rough pacing and remove mistakes. It’s all about speed.
Trimming and Deleting Filler:
The fastest way to clean up your dialogue is by using keyboard shortcuts on the Edit page:
- Use the Blade Tool (B): Select the blade tool to quickly slice out mistakes, tangents, or long pauses.
- Ripple Delete is Key: After slicing out a section, don't just hit the regular Delete key. Hit the Ripple Delete shortcut. This instantly closes the gap on all affected tracks while maintaining the sync between the remaining clips. This is crucial for collaborative editing.
- Refine Pacing: Listen to the flow. Are the pauses too long? Trim them aggressively. Are you stepping on each other's words? Add a brief gap.
Timing Music and Assets:
Once the dialogue is clean and you are satisfied with the edits, place your intro and outro music:
- Music Level: Temporarily lower your music track volume in the track header so you don't hurt your ears while working.
- Timing: Place your music clips and use the trim tool to perfectly align the end of the intro music with the start of the conversation.

Cleaning Up Your Audio
This is where your podcast goes from sounding "okay" to sounding "professional." Click on the Fairlight icon at the bottom of the screen to switch to the dedicated audio page. In Fairlight, you’ll use the Mixer panel and the Inserts slot on your dialogue tracks to apply effects.
- Noise Reduction: If you hear persistent background noise (hissing, fans, hum), use the built-in effects:
- Access the Track FX window (usually by clicking the plus icon above the Inserts section).
- Apply the Noise Reduction effect to your dialogue tracks. Use the Learn button while playing a clean section of only background noise to teach the tool what to remove.
- De-Essing Sibilance: If your 'S' sounds are harsh, apply the De-Esser tool. It targets high-frequency sounds to take the bite out of excessive sibilance, making the listen much more pleasant.
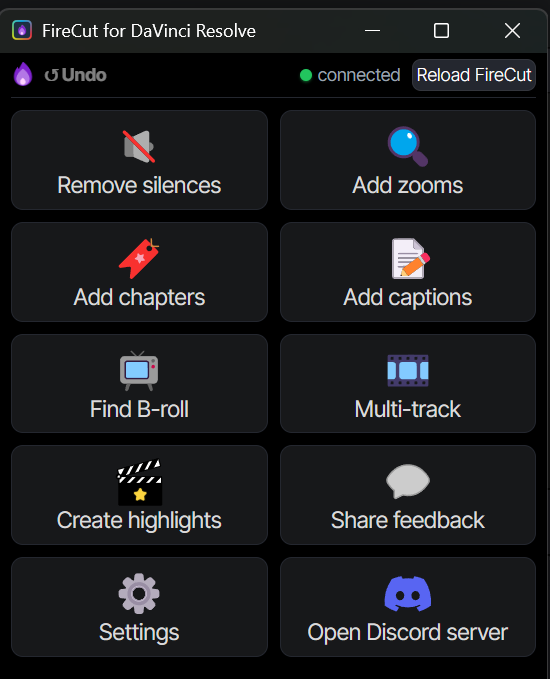
Automate your workflow: FireCut for DaVinci Resolve:
Is this all a bit too technical for you? Even if you do manage to understand it. It will take a significant amount of time to edit a podcast manually. Its also requires a learning curve so you would have to invest some time. But if you are looking for a quick and easy solution, try FireCut for DaVinci Resolve.
FireCut is an AI-based plugin for DaVinci Resolve which automates the lenghty tasks. It was previously launched for Premiere Pro and was an instant hit amongst the users. Now DaVinci resolve users can also benefit from the cutting edge technology.
FireCut eliminates the need to go through your footage again and again and make all those manual cuts and adjustments. Here are some of the great features which can help you edit a podcast:
- Silence cuts: Just cut out all silences with some simple configurations in a few minutes.
- Captions: Add captions in over 50 languages and auto emojis with AI.
- Multi-track editing: This is the most important feature for a podcast. It automatically makes the cuts by focusing on the person who is speaking. You can enhance the volume for the speakers to make the audio clearer.
- Premium B-rolls: Add B-rolls related to your content with just a few clicks.
- Zoom cuts: Add dynamic zooms to the speakers to emphasize on a topic.
Doesn’t it sound too good to be true already? It is a must have for anyone editing podcasts or even other videos. FireCut helps to save time and money spent on editing and lets you relax and focus on the creativity while AI takes on the manual labor.
So get your free trial today!
Exporting Your Final Episode
- The Deliver Page: Click the Deliver icon (the spaceship) at the bottom.
- Render Settings:
- File Name: Set your episode title and file name.
- Format: Select Audio (or Individual Clips and choose only the Master Bus).
- Codec: Choose MP3 (for smaller file size) or WAV (for maximum quality). For MP3, a bitrate of 192 kbps is a solid standard.
- Add to Render Queue and hit Render All!
Now you know how to fully use DaVinci Resolve’s powerful features to edit a podcast. Your workflow can become more efficient if you use AI to your advantage as well. So FireCut plugin for DaVinci Resolve is not something to miss out on if you are looking for a quick and efficient way to edit your videos.