

Adobe Premiere Pro CC, Apple's Final Cut Pro, and Blackmagic DaVinci Resolve are some of the best video editing software available for nearly two decades now. Many content creators and filmmakers have favored Adobe Premiere Pro CC for their video projects, including feature film making.
The high usage of Adobe Premiere Pro CC has led to the development of a range of superb plugins to aid workflow management. Using the right tools in the post-production process is crucial to extract the maximum benefit from your software. We will be discussing the best Adobe Premiere Pro plugins that will enhance your video editing process.
Plugins in video editing bring in new features and functionalities to your chosen video editing software that were previously not possible. These could be new transitions, presets, or intricate visual effect tools. There are a multitude of free and paid plugins available, which vary from extremely basic to ultra-advanced.
What are the best plugins for your workflow needs? Here are the 10 best plugins for Adobe Premiere Pro, perfect for both beginners and experts, ensuring the best video editing experience:

FireCut AI
FireCut speeds up editing by leveraging the power of AI to free your valuable time and automate the boring parts of editing. Not only does it make editing quicker, but it is much more interesting and creative as well! FireCut includes a bunch of valuable features for saving time, including:
- Cutting out silences from raw footage, with multiple different algorithms and customizable settings based on preference
- Adding J-cuts easily and automatically
- Adding zooms at key moments, based on what is being spoken
- Detecting chapters and generating pretty divider clips for creators to show throughout their YouTube videos
- Removing repetition when the speaker has done multiple takes of the same part of the script
- Editing multi-track videos such as podcasts, by following which speaker's audio is loudest and showing their video
- Removing filler words such as umms and aahs (beta)
FireCut uses AI right within Premiere Pro to ensure your edits (such as zoom-ins) make sense in the context of your video and are not simply based on audio levels.
Pricing
FireCut is a subscription-based product that comes with a free 7-day trial. The plans start from $11 per month. You can choose a plan that fits your needs and is compatible with your editing software. FireCut users, and they even report better watch time on their videos because the end result is more creative and engaging!
How to Install
Simply download the installer and run it. Once installed, restart Adobe Premiere Pro and go to the Extensions menu to find FireCut. Then enter your FireCut license key to begin the AI revolution.
Compatibility
FireCut requires Adobe Premiere Pro 2022+

Mercalli Pro
Stabilizing video in the field can be hard, and sometimes you need a plugin for corrections. Mercalli Pro is a great plugin for Premiere Pro that helps with video stabilization.
This plugin can spot even tiny camera shakes and produce steadier visuals. It also assists with rolling shutter problems for a clearer look. This plugin simplifies the video stabilization process.
Pricing
This plugin is priced at a one-time cost of €99.
How to Install
To install the proDAD Mercalli plugin for Adobe Premiere Pro, start by closing Premiere Pro completely to ensure smooth integration. Run the downloaded Mercalli installer, enter your serial key when prompted, and verify that Adobe Premiere Pro is selected as a host application during setup. Once the installation finishes, launch Premiere Pro, open your project, and navigate to the Effects panel under Video Effects > proDAD to find Mercalli. Drag the effect onto your desired clip, and place it at the top of your Effect Controls stack before clicking Setup/Analyze to stabilize your footage.
Compatibility
Adobe Premiere Pro: Compatible with Premiere Pro CS6 through Premiere Pro CC (versions 2014 up to current CC releases).
Mocha Pro
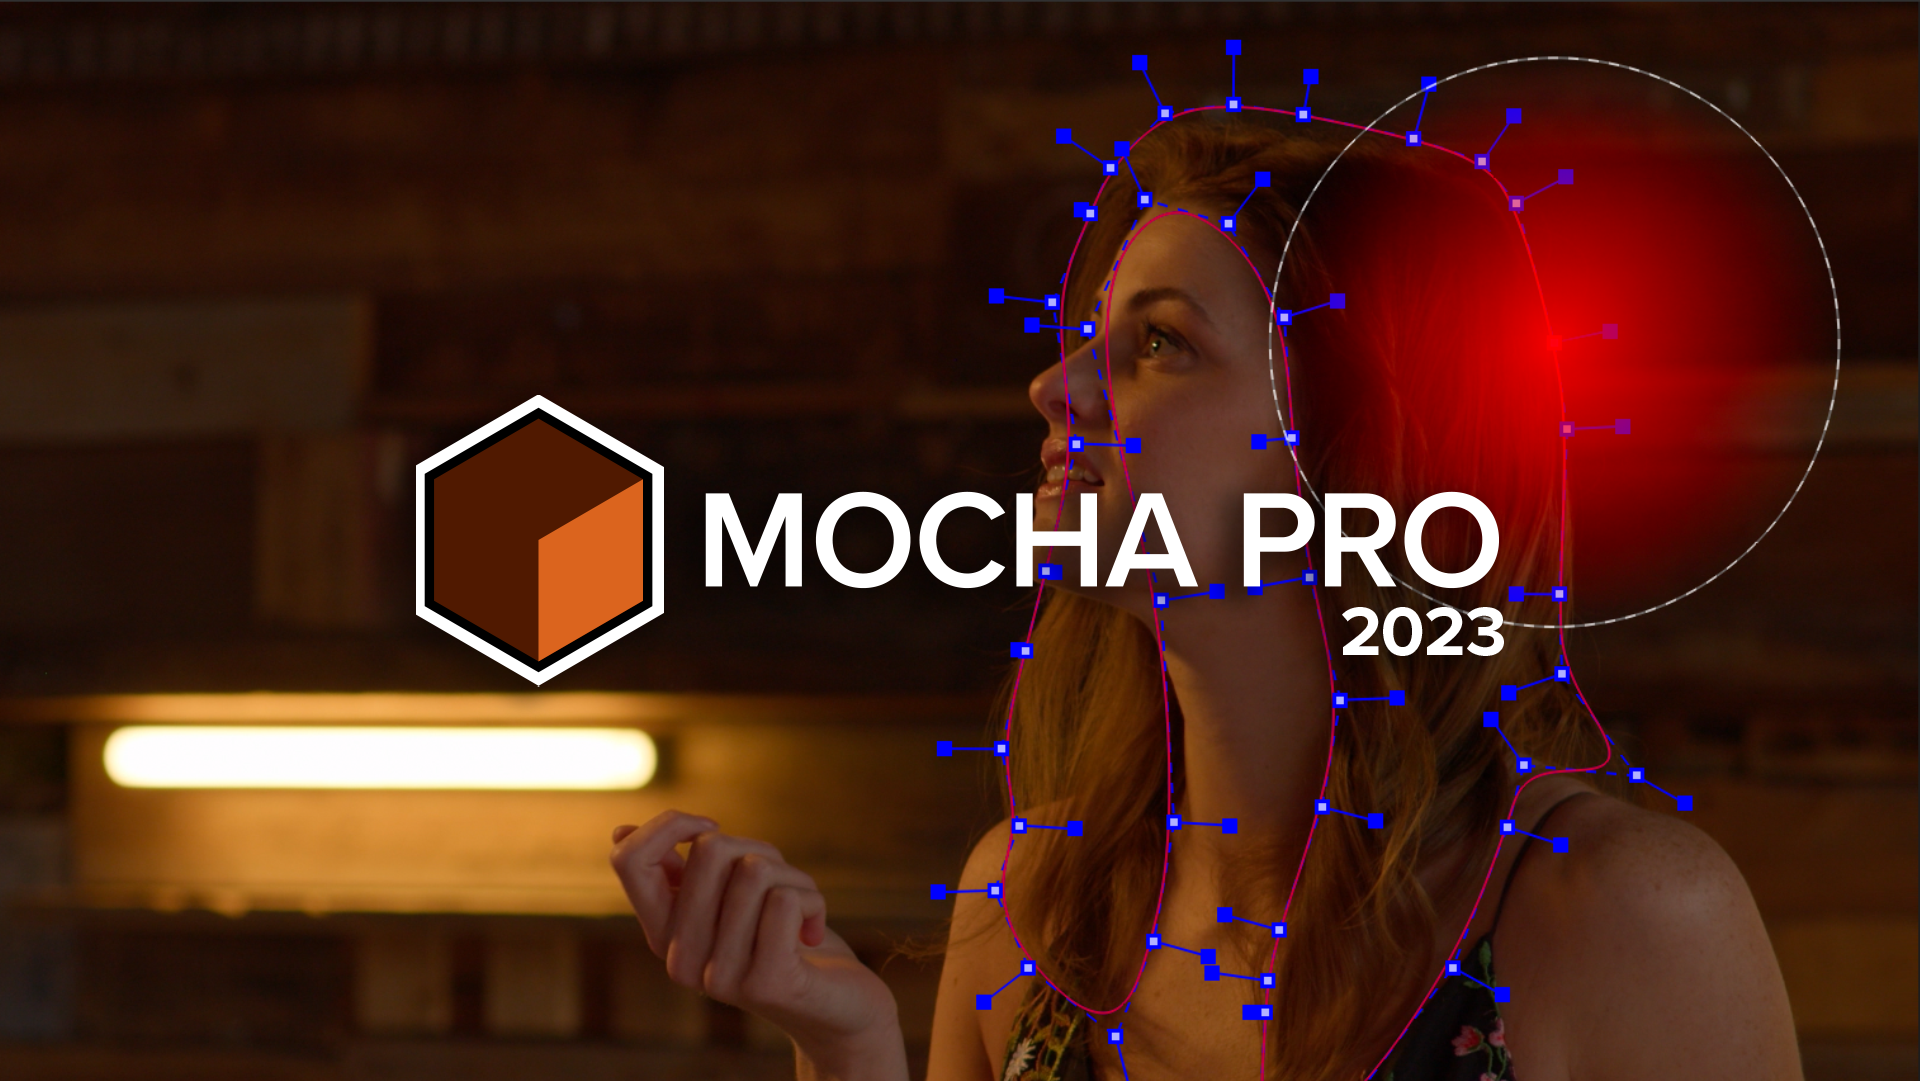
If you're really into visual effects, Mocha Pro is your tool. It's used for planar tracking, rotoscoping, object removal, and stabilizing footage. Mocha Pro isn't native to Adobe Premiere Pro but can be used with Open FX. Mocha has been used in many recent Oscar-nominated movies for visual effects, including Dune.
Pricing
The starting price for the plugin is $27 per month for the subscription model, or you can get the lifetime license for $765. Free trial is available.
How to Install
To install Boris FX Mocha Pro, start by closing Premiere Pro. Run the downloaded installer (via direct setup file or the Boris FX Hub), select your desired host package (such as Adobe, OFX, or Standalone), and follow the prompts to complete setup. Once installation finishes, use the Boris FX Licensing Tool window that pops up to enter your license key or activate a trial. Finally, open your video editor, locate Mocha Pro under the Boris FX Mocha section in your effects panel, apply it to a clip, and click the Mocha button in your effect controls to launch the application.
Compatibility
Compatible with Premiere Pro CC 2020 through Premiere Pro 2026+.
FilmConvert
FilmConvert is for film lovers. It's a cool plugin that simulates a classic film look with a few quick clicks. It supports all major camera brands, such as Panasonic, DJI, ARRI, Canon, GoPro, Nikon, Sony, and Blackmagic. It offers:
- Amazing camera profiles
- 6K Grain Scans
- 19 types of film stocks
- Ability to create 3D Luts
Pricing:
Filmcovert comes at a starting price of $149, which is a one-time cost.
How to Install
To install FilmConvert for Adobe Premiere Pro, close Premiere Pro completely, then download and run the appropriate installer for your operating system from the FilmConvert website. Follow the setup wizard prompts to automatically place the plugin into Adobe’s common MediaCore folder. After installation finishes, open Premiere Pro, locate FilmConvert (or FilmConvert Nitrate) in the Effects panel under Video Effects, and drag it onto your clip or an adjustment layer. Finally, select the effect in the Effect Controls panel and click Activate License to log in or upload your license file, which removes the trial watermark and unlocks full functionality.
Compatibility
Compatible with Adobe Premiere Pro CC 2018 through Premiere Pro 2026+

FxFactory Pro
FxFactory Pro is a powerful effects toolbox. It's packed with fancy animations, filters, and overlays, making it great for creating stunning visuals. It's perfect for filmmakers or social media creators. It houses effects from audio transitions, motion blurs, vibrance effects, glows and it works well between Adobe Premiere Pro and After Effects.
Pricing
It comes at a one-time cost of $199.
How to Install
To install FxFactory for Adobe Premiere Pro on macOS, quit Premiere Pro completely, then download and run the FxFactory installer from the official website. Once the installation finishes, open the FxFactory app from your Applications folder and sign in to your account to automatically download and activate your purchased plugins. Finally, launch Premiere Pro, navigate to the Effects panel under Video Effects or Video Transitions, and open the FxFactory folder to drag your installed effects onto your clips.
Compatibility
Compatible with Premiere Pro version 22.0 or later (includes Premiere Pro 2022 through CC 2026+).

Motion Array
Using Motion Array's Marketplace Extension for Adobe, you can easily download and insert all the assets you need directly into Adobe Premiere Pro and After Effects. Lots of free files are available, and for members who pay, they can have limitless downloads of hundreds of thousands of templates, stock footage, and music files.
Pricing
Motion Array has different plans according to features starting at $11 per month.
How to Install
To install Motion Array for Adobe Premiere Pro, close Premiere Pro completely, then download either the Motion Array Extension panel from the Adobe Exchange marketplace or the Motion Array Hub installer from their website for plugins and transitions. Run the installer or allow Creative Cloud to automatically install the extension in the background. Once finished, launch Premiere Pro, navigate to Window > Extensions > Motion Array to log into your account and access templates directly, or check the Effects panel under Motion Array to find your installed transitions and visual effects.
Compatibility
Compatible with Premiere Pro CC 2021 through Premiere Pro 2026+.
Twixtor
Regular video editing often fails to produce quality slow motion. It usually looks unrealistic and choppy. But Twixtor excellently slows down or speeds up footage by creating unique new frames by changing and combining frames of the original sequence.
Pricing
This comes at a single-time cost of $330.
How to Install
To install RE:Vision Effects Twixtor for Adobe Premiere Pro, close Premiere Pro completely, then download the appropriate Twixtor for Premiere Pro/After Effects installer (Windows .exe or Mac .dmg/.pkg) directly from the official RE:Vision Effects website. Run the setup executable, accept the agreement, select your Adobe Premiere host version during setup, and enter your registration serial key when prompted. Once installation finishes, open Premiere Pro, locate Twixtor or Twixtor Pro in the Effects panel under Video Effects > RE:Vision Effects, and drag the effect onto your nested sequence or clip to begin re-timing your footage.
Compatibility
Compatible with Premiere Pro CS6 through Premiere Pro CC (2014 up to CC 2026+).

Knoll Light Factory
Knoll Light Factory is a Premiere Pro add-on, created by ILM's Chief Creative Officer John Knoll, that provides camera-inspired, photo-realistic lens flares to enhance visual effects and motion graphics. It includes a user-friendly lens editor for customization, over 200 presets designed for various media, and supports the addition of personal elements.
Pricing
It is a part of the Maxon universe subscription starting at €196 per month.
How to Install
To install Knoll Light Factory (legacy Red Giant / Maxon) for Adobe Premiere Pro, close Premiere Pro completely, then run the installer file for your version—either through the legacy Red Giant installer executable, the legacy Maxon App (VFX Suite 2023.2.0 or earlier), or the Maxon Universe installer for Knoll Light Factory EZ. Follow the setup prompts, select Adobe Premiere Pro as a host application, and enter your serial key when prompted to register the plugin. Once setup completes, launch Premiere Pro, locate the plugin under Video Effects > Red Giant / VFX (or Universe) in the Effects panel, and drag it onto a clip or adjustment layer.
Compatibility
Compatible with Premiere Pro CC 2018 up through current Premiere Pro releases (CC 2025 / 2026).
DE:Noise
The De:Noise by RE:Vision is a strong noise reducer. While Adobe Premiere Pro can reduce noise, this plugin is specifically for this effect. De:Noise is able to tackle different types of noise and still keep the footage sharp using temporal filtering.
Pricing
Lifetime license starts at a price of $50.
How to Install
To install RE:Vision Effects DE:Noise for Adobe Premiere Pro, start by quitting Premiere Pro and After Effects completely to ensure the installation files register correctly. Download the DE:Noise installer for Adobe (a .exe file for Windows or .dmg/.pkg for macOS) directly from the RE:Vision Effects website. Run the installer, agree to the terms, and follow the setup wizard as it automatically detects and targets your system's shared Adobe MediaCore plugin directory. During setup, select the option to register your license and enter your serial key to remove the trial watermark. After installation finishes, open Premiere Pro, navigate to the Effects panel under Video Effects > RE:Vision Effects, and drag DE:Noise onto your clip or nested sequence to begin frame-to-frame noise reduction.
Compatibility
Compatible with Premiere Pro CS6 through Premiere Pro CC (2014 up to CC 2026+).
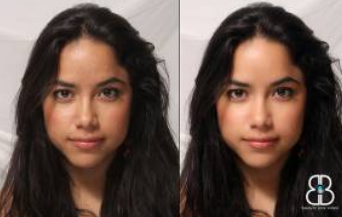
Beauty Box
Beauty Box is a simple plugin that identifies skin tones automatically and smoothes them. It's like digital makeup. The Beauty Box works naturally on both HD and 4k videos. It renders in real-time using CUDA and OpenGL software to play videos quickly.
Pricing
Beauty Box comes at a one-time cost of $199.
How to Install
To install Digital Anarchy Beauty Box Video for Adobe Premiere Pro, start by closing Premiere Pro completely, then download the appropriate installer (a .exe file for Windows or .dmg/.pkg file for Mac) directly from the official Digital Anarchy website. Run the setup wizard, accept the agreement, and follow the prompts as the installer automatically places the plugin into Adobe’s common MediaCore directory. Enter your serial key during setup or in the registration dialog upon first use to remove the trial watermark. Finally, launch Premiere Pro, locate Beauty Box in the Effects panel under Video Effects > Digital Anarchy, and drag it onto your clip to begin applying skin smoothing and touch-ups.
Compatibility
Compatible with Premiere Pro CC 2018 through Premiere Pro CC 2026+.
Conclusion
Adobe Premiere Pro is a top-notch video editing software that improves with plugins, and is a great choice for both Windows and Mac users. Plugins like FireCut, Mercalli Pro, and Boris FX Mocha are very useful, they save you time and improve the quality of your work – making sure you get to your end-result quicker, and that the result is good.
FireCut uses AI to help creators make better content, faster.
Available for Premiere Pro, DaVinci Resolve and Web.
Start free trial